Want to learn how to make a wig that looks good enough to eat?
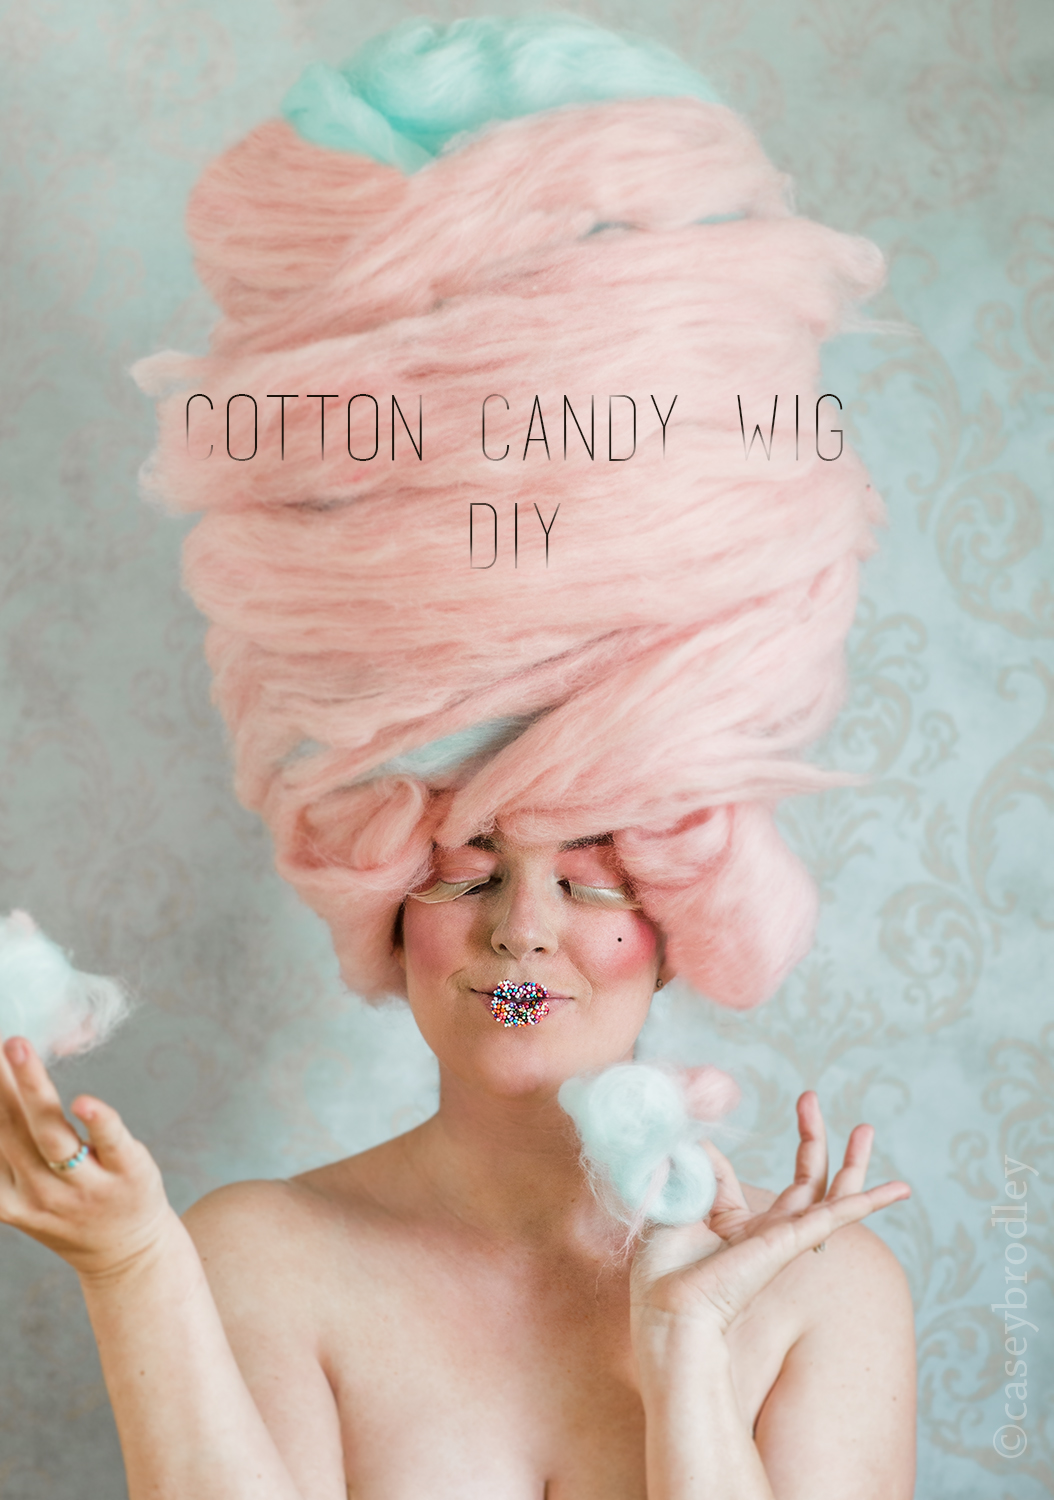
Here's how:
Wig Ingredients:
Styrofoam Head (to work on your wig)
Poly-Fil batting (crib size 45" x 60" roll)
Roving Wool in your choice of color (I chose light pink and light blue for cotton candy colors) or dye your own if you're feeling ambitious! I got about 1 lb total, but I had lots leftover. 16 oz should be plenty.
8-inch wreath base
Optional: Candy, rhinestones, glitter, sprinkles, or any other accents you would like to add!

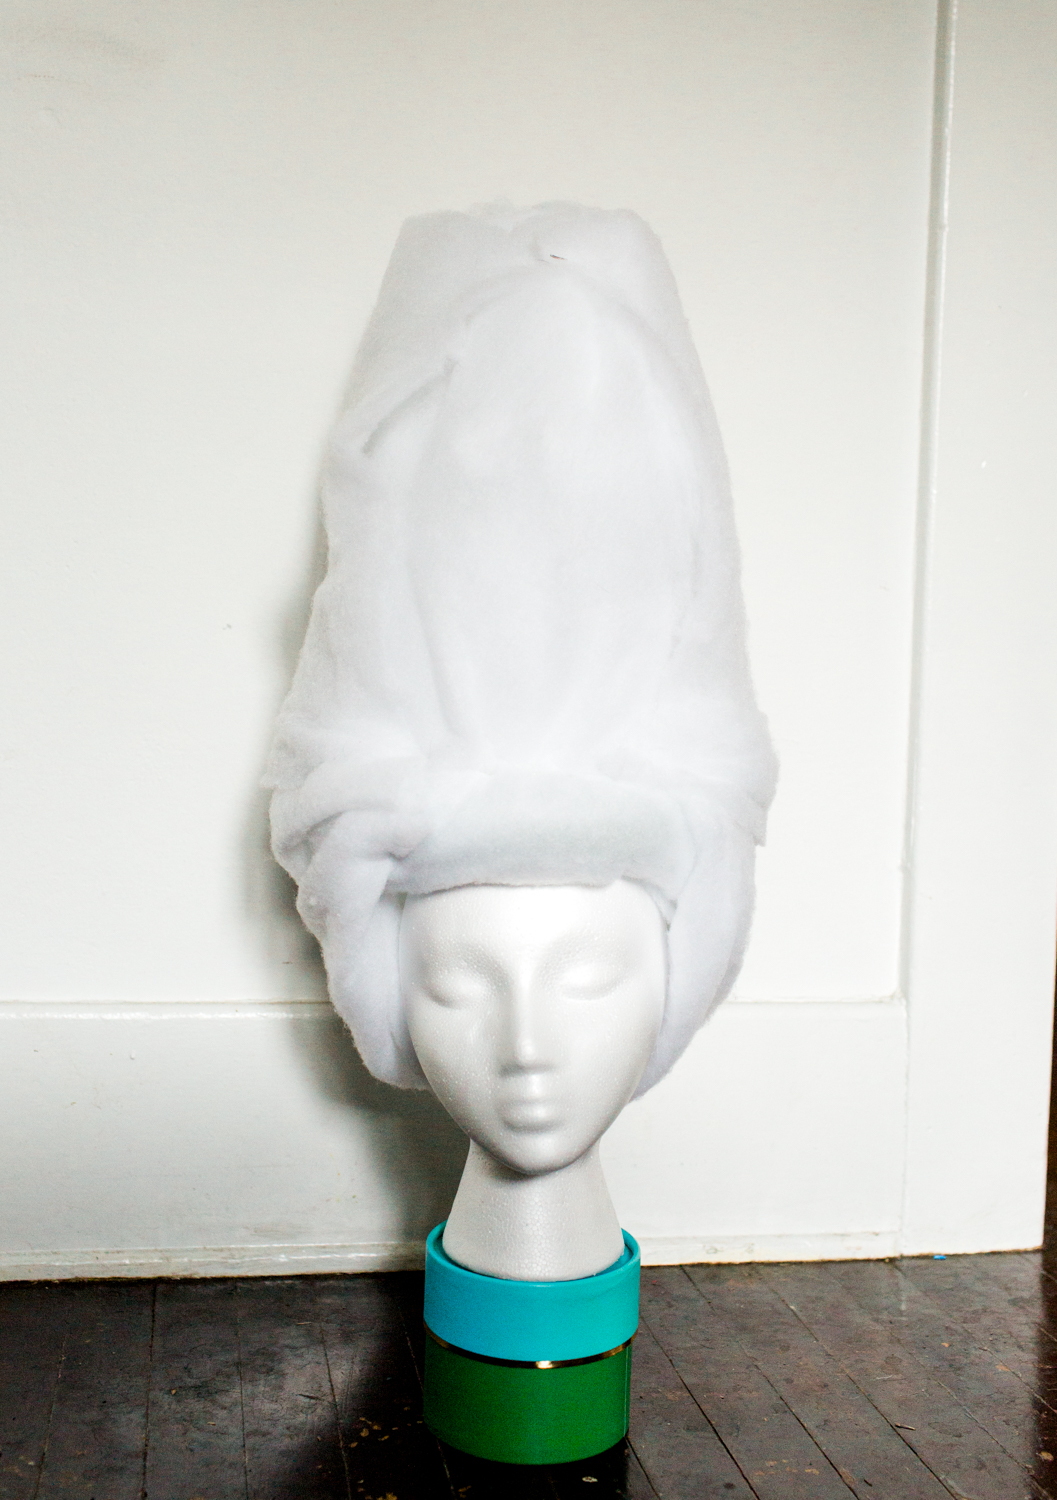
1. Take your batting and cut into 1 ft wide strips. Wrap your wreath base and cone in batting and secure with T-pins. Use the styrofoam head to test balance. The ring should rest on the crown of your head, not fit completely over your head. It's simply a base support the cone.
2. Once individual parts are wrapped with one layer of batting, use excess batting to wrap (like a towel on your head after the shower) from the base of the mannequin's head where it meets the neck up. Secure with T-pins until you have a cotton candy shaped base. The wig base should sit balanced on the mannequin's head at this point. If it doesn't adjust the placement of your wreath and re-wrap until wig stands on it's own.

3. Now it's time to start building! Use your spray adhesive to go over the base in sections as you swirl the roving wool (like a tornado) from the base of the wig to the top. Do not use spray adhesive like hairspray after it's wrapped or it will stay sticky and take away from the effect. Only use it to attach the wool to your poly-fill base.
4. To make the curls that frame the face, flatten a piece of wool and wrap around your finger. Pin the cylinder shaped curls with a T-pin to the wreath base.
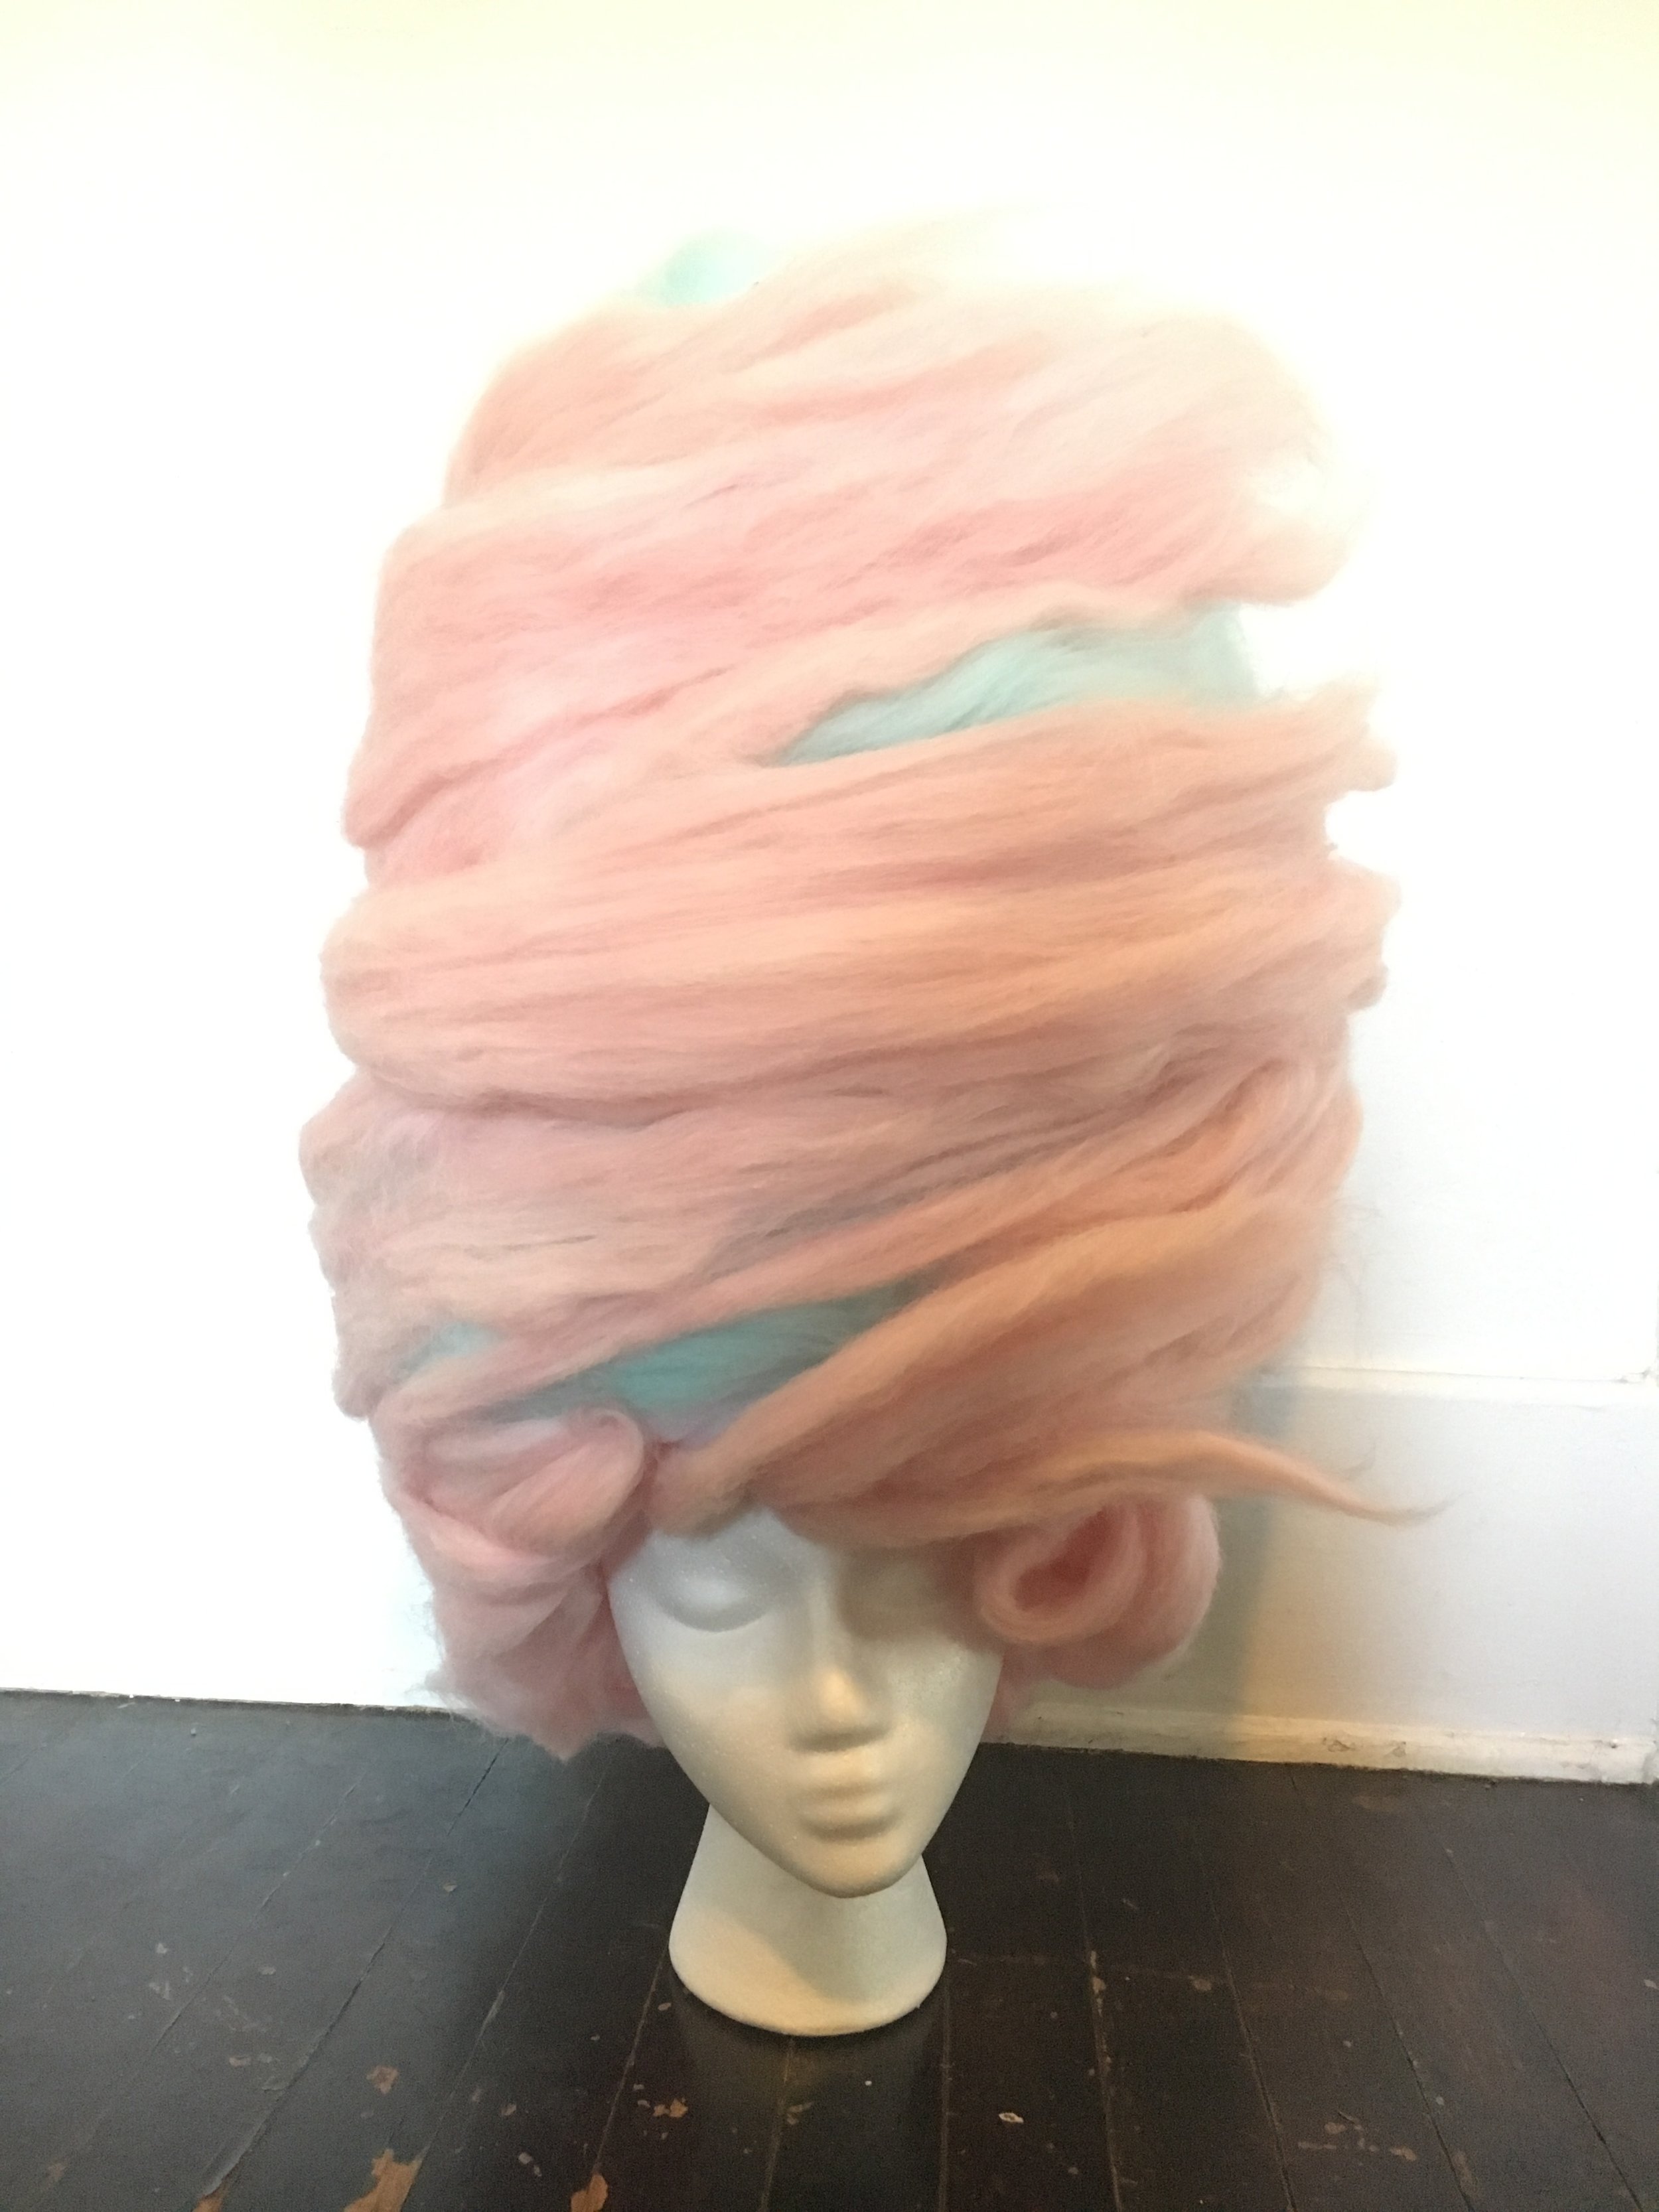
Remember that cotton candy is wispy and fluffy! Play around with how much you can pull the wool apart, fluff whenever you place a new swirl, and make lots of layers. Play around with it! I had about 5 different versions of this made before I was totally satisfied by the way it looked.
Tip: Layering is key! A little roving wool can go a long way.
*BONUS TUTORIAL: Make a faux wall backdrop!*
Backdrop Ingredients:
Polystyrene sheet, cut in half so it's 2 4x4 sheets (or, if you want to do a full body portrait, leav it whole
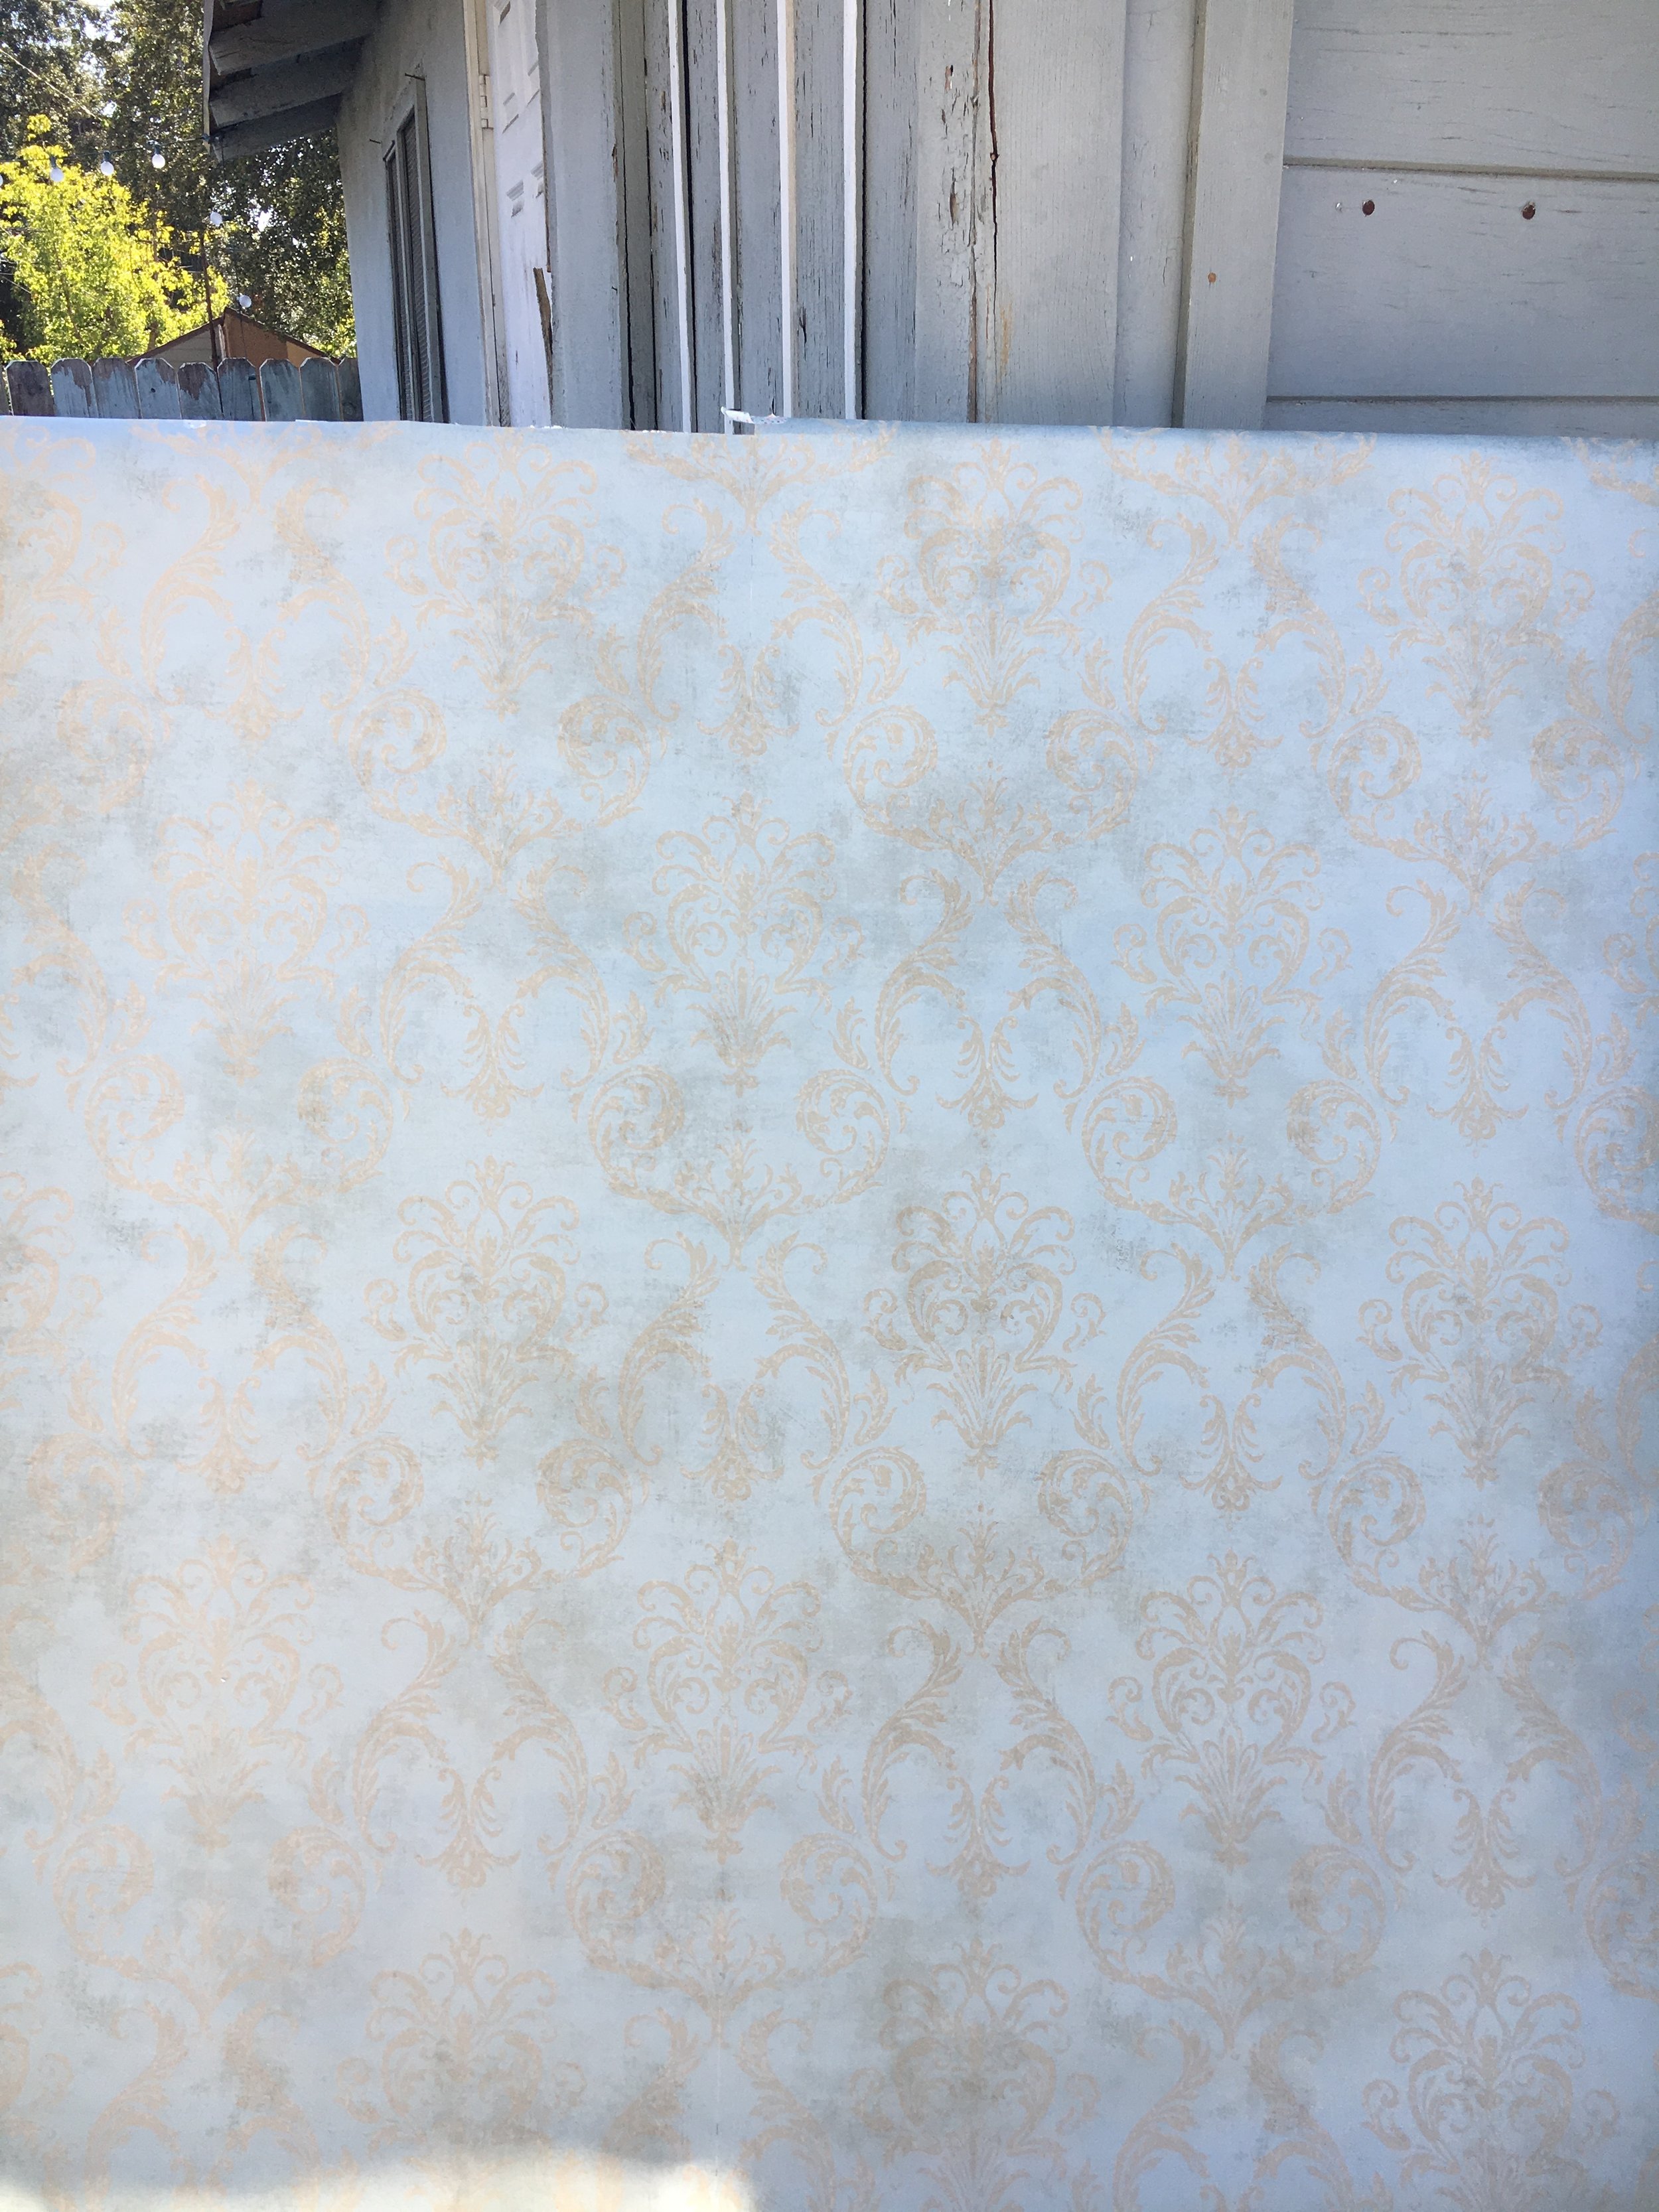
Vintage Wallpaper (or, really, you can use whatever you want. paint it, go crazy. live your own truth.) I got the wallpaper pictured on Etsy.
Spray Adhesive
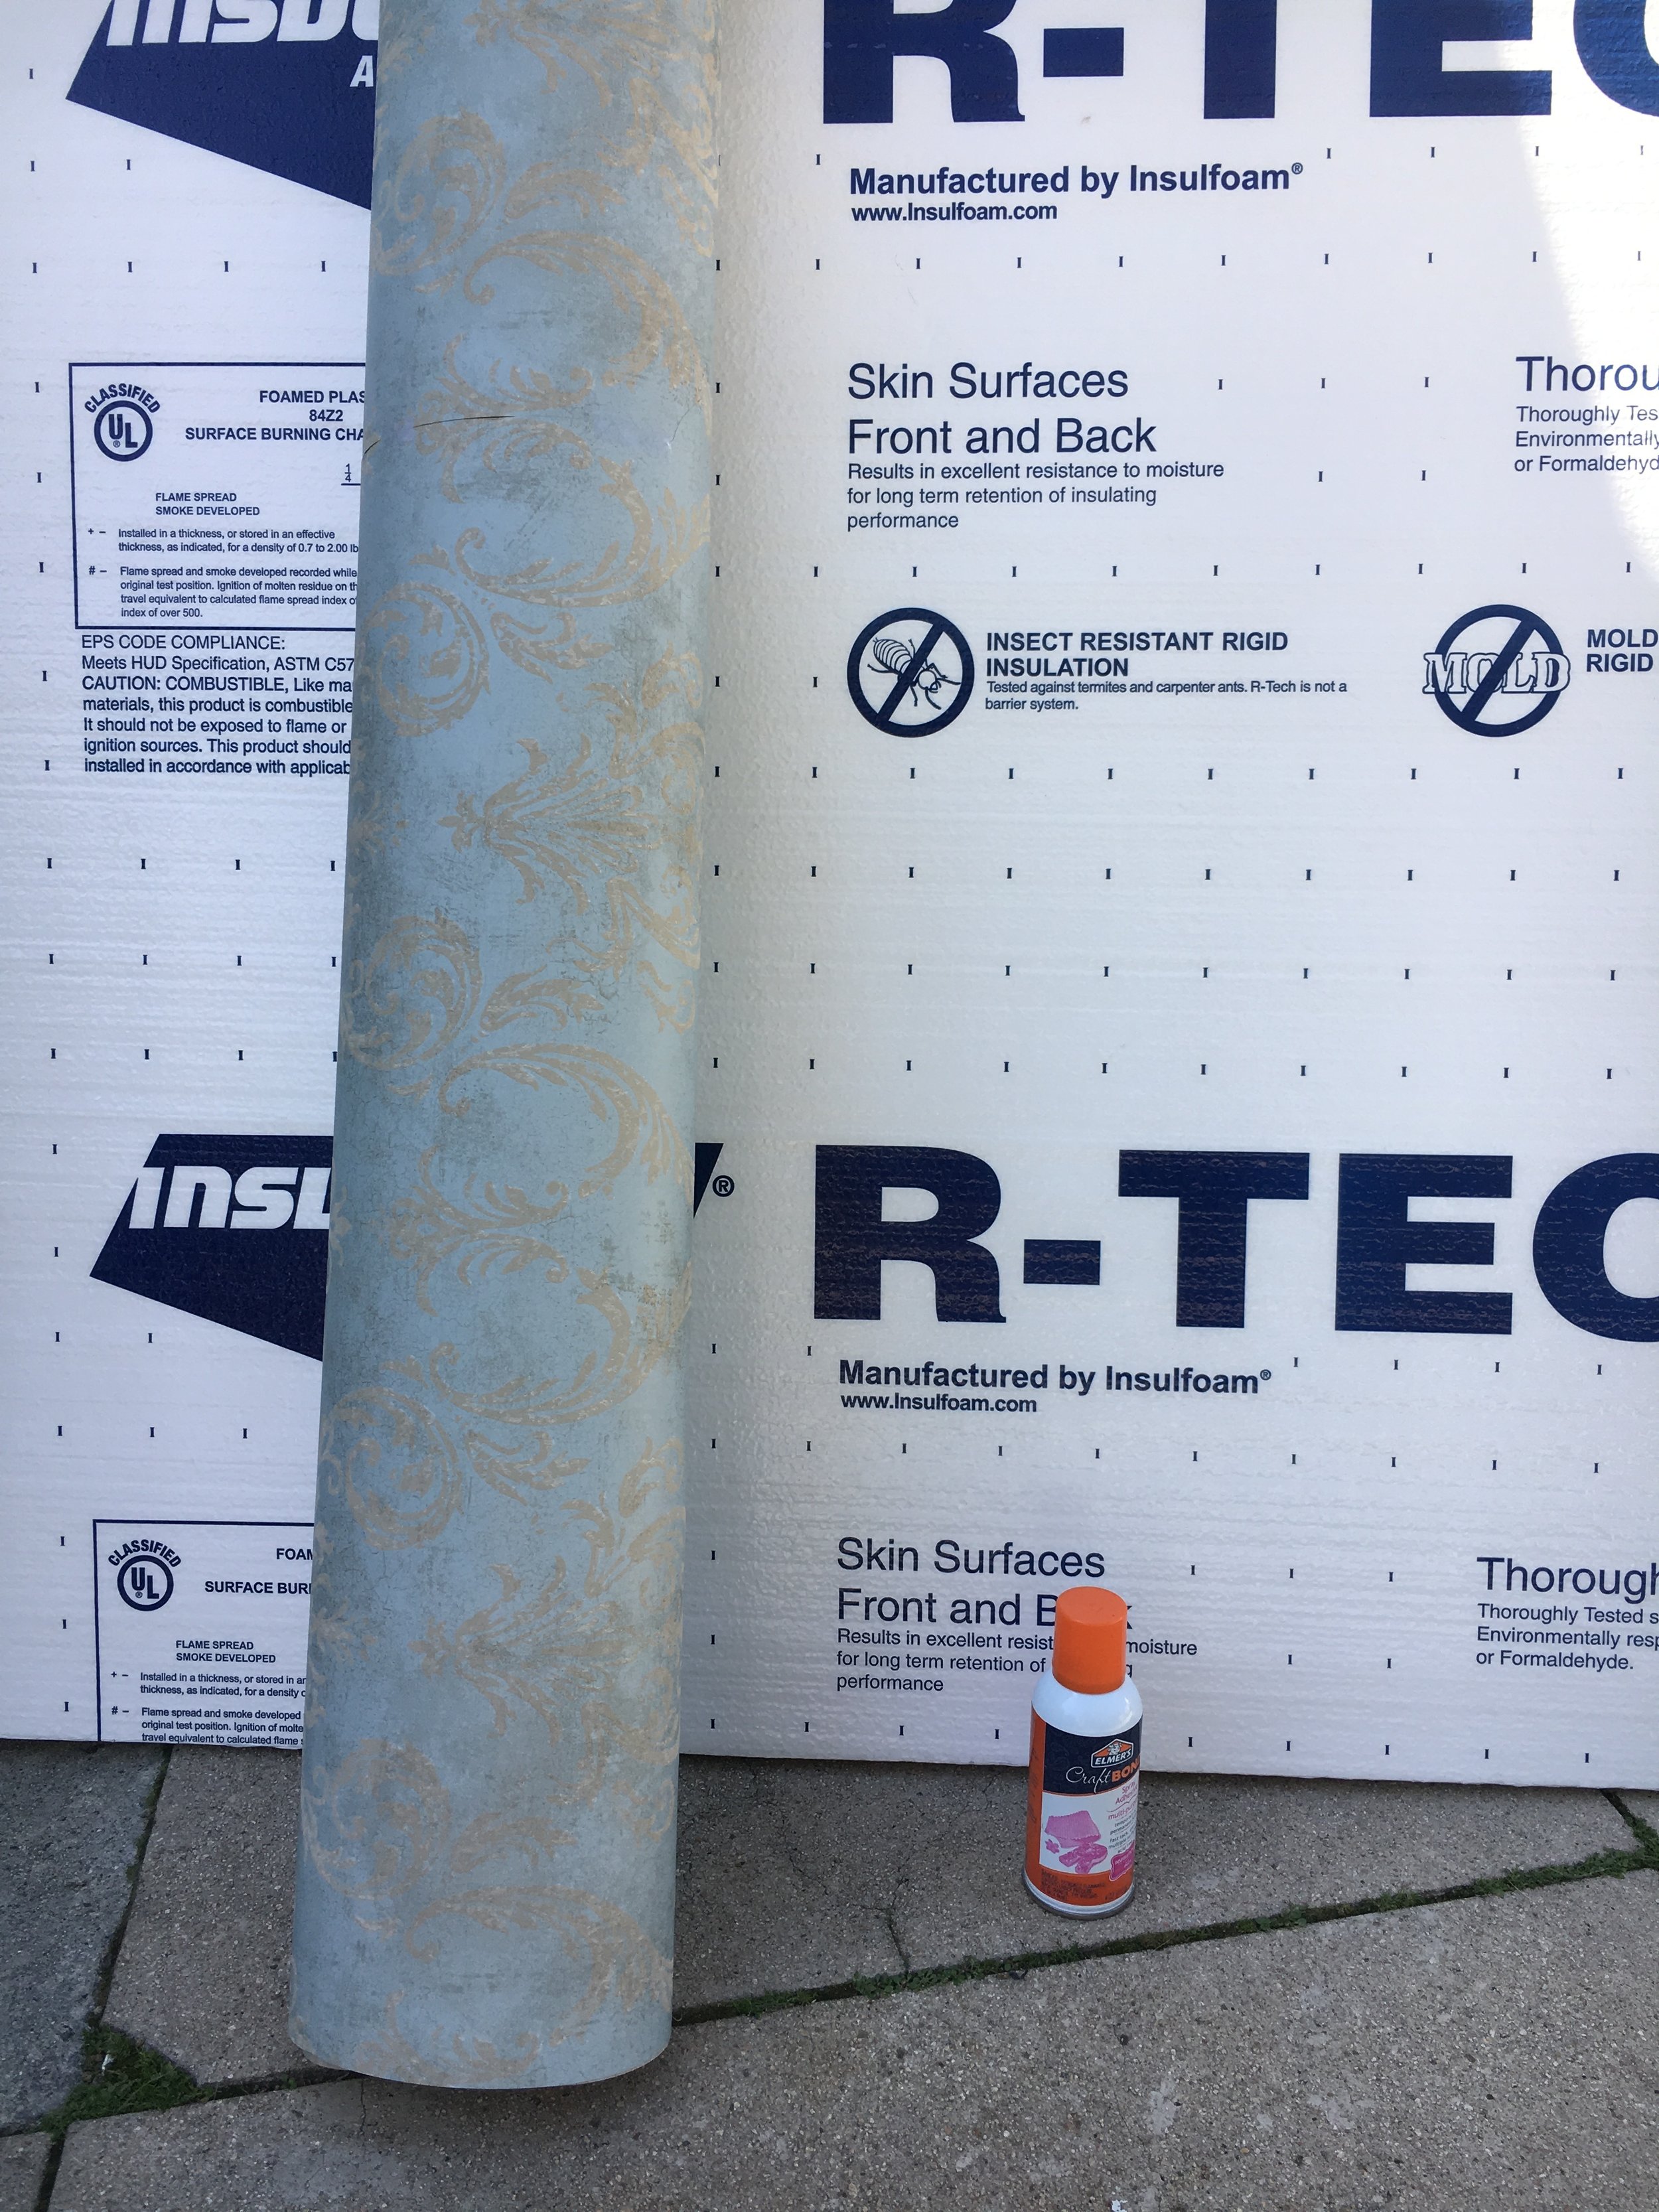
1. Both Sides of the Polystyrene should have a plastic film. Peel the shiny side off both halves.
2. Use your spray adhesive and evenly cover both the back of your wallpaper and the polystyrene side you just peeled off in step 1. It's important to cover both the back of the paper and the surface of the foam. Be patient while you're lining it up, you are able to peel and re-stick the paper at any time. No pressure.
You can see similar in-process photos for this technique on Oh Joy!
3. In order to replicate the lighting setup of my photo above, I used ONLY natural light. I sat next to a window like so (my body double, Abu, is standing in for me here):

fancy studio, huh?
Now, if you can have a friend help you take the photo, that helps a lot. Otherwise I set up a tripod and used a remote shutter to take the photos (I pressed the shutter with my toe!).
PS Don't forget to have fun with the makeup, too!
Please let me know if you have any questions! Have fun and make this your own!
xo,
Casey
*This project was inspired by Marie Antoinette, Sue Bryce's ethereal studio work, and the great Cindy Sherman. Thanks for all the inspiration, ladies.*